Thursday, February 26, 2009

Elvis is in The Studio...

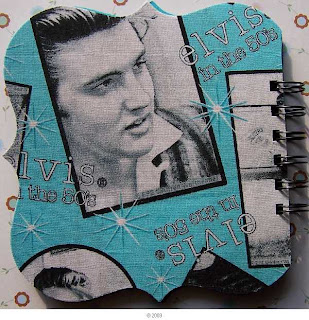
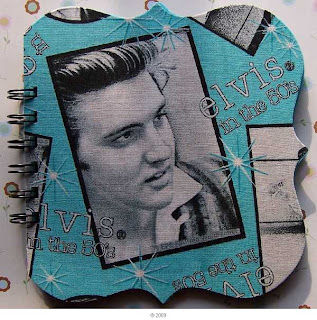
After I finished up some housework and chores today...I got some studio time in...I used my new Antique Brackette die cut to make a book for my hubby...I used Elvis fabric and with Heat n Bond and covered the outsides of the chipboard covers...


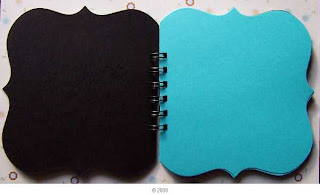
I lined the inside of each cover with black cardstock and cut the 4 pages from a coordinating color to match the fabric...I trimmed one edge so I could punch holes using my bind it all...I am going to put some photos of my hubby when he was growing up in the book, since he was born in the 50's...


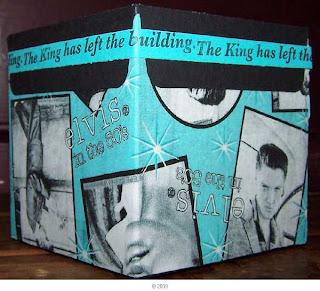
My hubby has a birthday coming up next month and He is a big Elvis fan...Our den is dedicated to Elvis memorabilia...he even has me addicted to it now...I used 4 of the large envy die cuts in black cardstock and covered the outside of the box with the fabric using the Heat n Bond....


My Stampsmith Elvis stamp message came in perfectly handy to make the faux ribbon to attach at the top....I stamped the verse in black in on the cardstock strips...and attached all around the top flap edge...


I cut out one of the Elvis images and attached to the teal cardstock, then used one of my circle nesties to cut it out, then cut out a larger scalloped circle from black cardstock to layer the teal circle on...I raised it with pop dots...


Not sure if I will attach a handle, as I ordered him a couple of gifts today, so will see if one of them will fit in there for gift giving before I do anything else to it...
Be sure and check out the next posting for a chance to win a similar kit for yourself...


Wednesday, February 25, 2009

Debbie's Die Cuts Welcome Spring Giveaway...Listen closely on this one...

ok...I enjoy spring and I enjoy sharing my die cuts with others...and have been having a blast with the naming a friend to get a giveaway too...but....yes, there is a but....I want to shake this one up a bit...

SIGN UP.....THIS POSTING ONLY....WITH YOUR FIRST NAME AND EMAIL ADDY AND THE NAME OF A FRIEND...BUT...

the twist is...when we draw the names...there will be two different prizes...one you will get...the other goes to your friend...so you will have to decide who, will get which prize...

This Giveaway you will be trying for a set of four large cardstock envy, plus all the goodies to make a basket......or an Antique Brackette Book kit with die cut embellishments......

This drawing will close on February 28, 2009...
Winners will be posted on Sunday March 1...
Tell all your friends and take a chance on this Welcome Spring Giveaway from Debbie's Die Cuts!

Mini Box from Envy Giveaway winner is

Stephanie and her friend Debora...I have sent them an email to their addresses...

Special offers at The Studio

Be sure and check out the studio blog for some special Limited time sales,...Lots of free kits with purchases of others...Also...while supplies last...Place a $10.00 or more order and get a Mini Tag Book "free"... http://thestudioinpreston.blogspot.com

Tuesday, February 24, 2009

More Easter Baskets

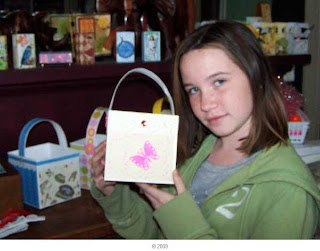
This is the basket my mom made this afternoon...We had a mini class of sorts after my granddaughter got home from school...so we all made baskets...
This is Kelsey's basket...She was very inspired by the paper she chose, and wanted to Cuttlebug the flaps that fold down over the outside...I thought she done a great job on her basket...and she did it all by herself...


She is also somewhat of a "ham"...I called her that when I made this picture...and she said, what's a "ham"...I said go ask your Granny..so she did...Granny said, "its a pigs butt"...LOL...she was not nearly amused by moma's answer as I was...LOL...

I decided to do a basket with a "manly theme"...my son has a b'day coming up soon...so I think I will use this one and fill it full of snacks he would take fishing with him and then maybe even add a fishing lure in there too...I used two different papers, and added the little frog punch to the handle side of the basket...


these are our baskets for the day...I am going to make each grandchild one and put money and candy in the plastic eggs...
Be sure and check out The Studio blog for new kits http://thestudioinpreston.blogspot.com


Easter Baskets, Bunnies and Butterfly's...Oh My!!!

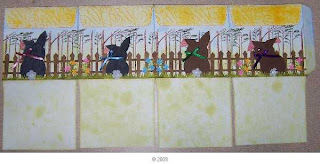
I said I had another project in the works using those Punch Bunnies...Well...how about a whole family of them on an Easter Basket...I used 4 of my large envelopes cut from cardstock...I added ink directly from the pads to color the die cut envy's...Stamped the background of trees...Innovative Stamp Creations...Betsy has some awesome tree images...I used the Sizzix die cut fence from a tan cardstock, then sponged on some brown ink...I made my bunnies from black and brown cardstock...the black was a tad bold, so i used my grey chalk pencil to tone it down...I used a pink pattern paper attached to the pieces I cut the folded ear from...I used punches for the grass and foliage, and punches for the tiny flowers...I added some color to the background trees with my chalk pencils...
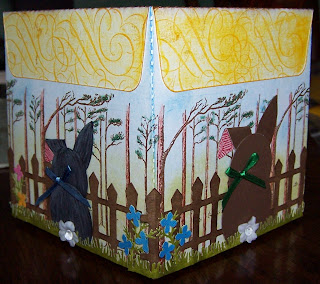
The pattern flows smoothly around all four sides of the basket...
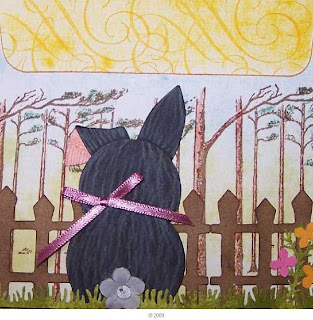
Here is a close up of some of the detail...I used the ISC swirl background to stamp the yellow tabs that fold over the top...
I used silk flowers on the bunny tail and handle area...otherwise all the parts are die cuts or punched shapes...and I could have used punches there, but wanted the varying texture and of course the ribbons around each bunnies neck...
Because you end up with a solid bottom and that is 4 layers of cardtock thick...this basket will be very durable and sturdy...I filled it with easter grass and eggs to show how much you can add to it...
The finished size is approx 5x5...I even made the handles triple thickness of cardstock, so it would be durable as well...
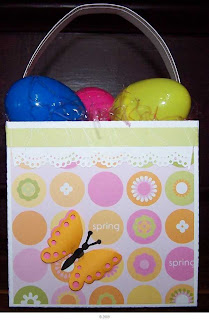
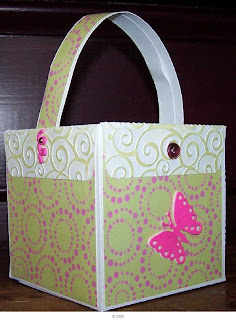
I wanted to make a simpler version...This basket is very simple and I made one in half an hour...I started with my four white cardstock envy's...cut 4 pices of pattern paper to layer over each section of the basket...Punced the flap that folds over the outsides, with my Martha punch...I cut a strip of coordinating pattern paper to trim the top edge above the punched border...
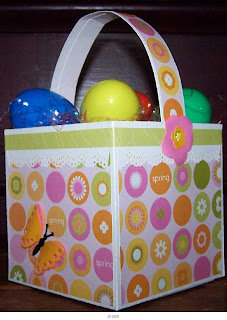
I added the butterfly die cut to the front side and used die cut flowers at the handle ends...I also added a strip of the same pattern paper down the center of the handle...
Are these not just the sweetest little Easter Baskets...just imagine all the possibilities as gift baskets...Wait until you see the next two I have on the work table...
There will be a special offer on the die cut envy's on The Studio blog shortly...
Saturday, February 21, 2009

Punch Bunny....

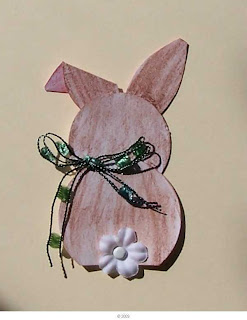
I call this little critter "Punch Bunny"...I used to paint a similar piece, years ago...and got to looking thru some old stuff and thought I can use punched circles to make him and it worked...I colored this one with chalks, so its kinda cheesey...but at least you can get the idea of how to make him...


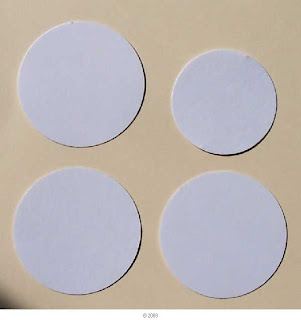
The size punched circles you use, will determine the size bunny you get...I used a 1.25 and 1.5 size for these bunnies...
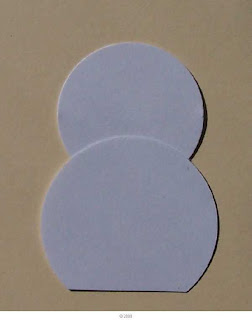
Cut the bottom edge off one of the circles, so he sits flat...Put the smaller circle behind this to become his head...
Cut some oval like shapes out of the other two larger circles to make the ears...
Fold one ear down on the back side bunny...
I fold both ears down on the side view bunny...I know...one ear should have been on the head, rather than both ears behind it...but hey...I was working on 3 projects at one time and just got carried away...LOL...
For the side view bunny, I added some blush to the cheek and made the eye and nose with a sharpie marker...I colored these bunnies with chalk, brown for the bodies and pink for the ear insides...I added little white flowers for the tail and some ribbon bows on the necks....Wait til ya see what I do with him next...LOL...more to come with this little hopper...

Antique Brackette Shape Book...


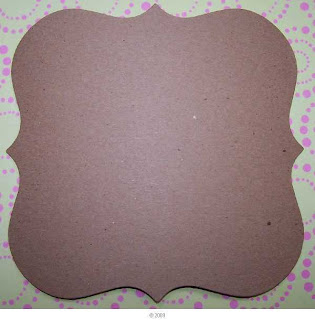
I designed a new custom die for making books, cards and more...the Antique Brackette Shape is approx. 6x6...More projects are in the works...
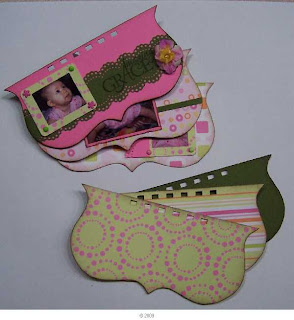
I cut one of the chipboard shapes and two of the cardstock shapes in half to make this book...i then covered each piece with coordinating pattern paper and cardstock...I punched holes with my bind it all...I sponged all the edges lightly with brown ink...
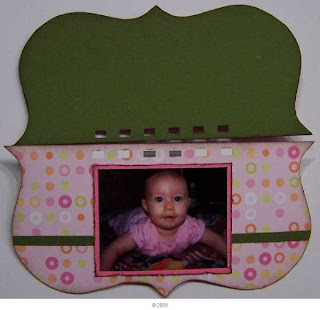
This is the book cover so far...I made some faux ribbon using my Martha punch to decorate the edges of the green strip, covered a piece of cardstock with patterned paper and die cut the Sizzix frame, added decorative brads to attach the photo...I stamped the Amazing Grace on the cardstock ribbon strip and added some flowers...
I added a thin strip of green cardstock, layered the photo onto pink cardstock, distressed the edges and sponged with brown ink...
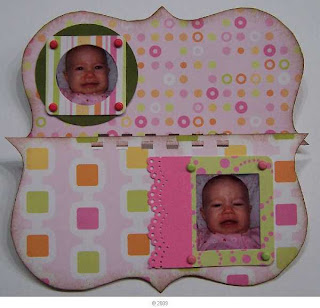
I had to take some "boo boo" face pictures...LOL...This baby only cries if she is hungry or tired...otherwise, she is a happy baby...so I grabbed the camera and took advantage of that face...
I covered some more cardstock with pattern paper and used the Sizzix die cut frames, added the top one to a round punched shape, perfect for the look of the background paper, and then added the punched piece to the side of the bottom frame, just for interest...I will add more foo foo, and still have to finish the other pages, will share those when I do...
Be sure and check out my studio blog for a special offer on the Antique Brackette 6x6 Shape
http://thestudioinpreston.blogspot.com

New stuff in The Studio

We have added a few new things to the studio blog today...Check them out...Samples will be coming soon http://thestudioinpreston.blogspot.com Tell me you saw this posting and get a "freebie" with your order...Limited time offer...

Wednesday, February 18, 2009

Mini Envy Box Project---Giveaway...

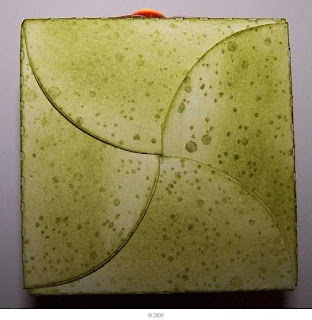
This mini envy box, was just kinda thrown together...I wanted to show the little flaps on the outside of the box and with no sleeve...I know, kinda cheesey, but hey..I only had 30 minutes to make them both...so I was in hurry up mode...LOL...
I like to fold the bottom like this, kinda pinwheel looking...but it could be folded like a regular box bottom too...
Sorry, this one was a little fuzzy...but I didn't have time to retake the photo...I added a die cut flower to one side...these would make great party favors...just think of all the possibilities...
If you would like to get a few of these mini envy die cuts to make your own mini envy box from...SIGN UP...THIS POSTING ONLY...WITH YOUR FIRST NAME AND EMAIL ADDY...AND GUESS WHAT...SIGN UP YOUR FRIEND AND SHE WILL WIN A FEW TO MAKE ONE TOO...
I understand from a friend of mine that I shared this with earlier, that a similar idea has been posted on other sites, but I had not seen those projects, had no idea of any prior projects made using envy die cuts and this idea came to me while playing with some die cut envy's that I had with me at work...So, it just shows that great minds think and create alike...
The next posting shows the steps I used to create my box, as well as another version I made this afternoon...
You can order the die cut mini envy's from 110#white cardstock at my studio blog
http://thestudioinpreston.blogspot.com

A Box from a Mini Envy die cut...

This idea hit me this morning while playing with some mini envy die cuts...I could use them to make a box...I always like to see what else the die cuts can become...and this one is pretty cool...I have 3 different mini envy die cuts and they all work great for this project....Following are some steps I used to make this project...

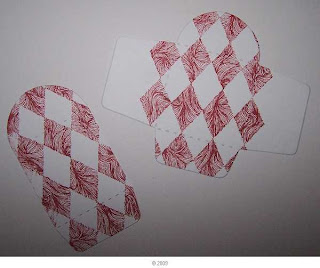
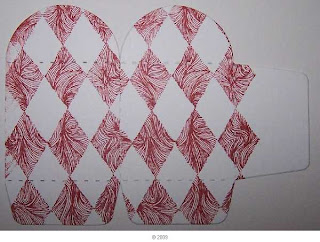
I cut 4 of the 2 x 2 mini envy die cuts from white 110# cardstock, then removed the side flaps from 2 of the envy's...I stamped the envy's with a background stamp, here I used one of my fav images from Innovative Stamp Creations...
Then glue the side flap envy's and the non flap envy's, alternately...
Your finished piece should look like this...glue the last flap to the inside of the other envy on the other end...the rounded end flaps will become the box bottom...
On this box I glued the small flap ends to the inside
I made a sleeve for the box by cutting a strip of white cardstock 2 inches wide and as I wrapped it around the box, I used my bone folder to score for the folds...I stamped it and then glued it together...
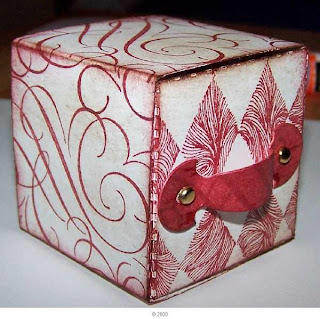
I used some photo holder die cuts to make a handle for the little box and attached it with mini brads...The little envy box slides into the sleeve perfectly...
Here is the finished one...This was just a quick one I threw together after work today...I have a few more in various stages and will work on them again tomorrow...You can order a kit to make your own boxes, sleeves not included at http://thestudioinpreston.blogspot.com

Saturday, February 14, 2009

Matchbox Accordion Book Sample from Guest Sally Bowen

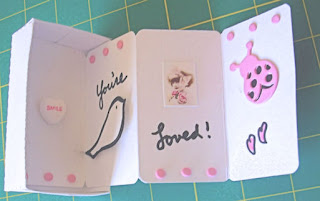
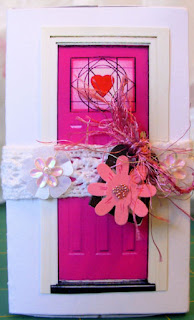
Sally made a beautiful sample of the Matchbox with Accordion Book Kit...and we wanted to share it with you all...This is the cover she designed for the box sleeve and the accordion panel inside the box...
Here is the Accordion book opened inside the box...
Isn't the cover of the box just wonderful...I love that pink door...The front door to my studio is a barn red color..., but i like this pink one better...LOL...If you want to see more of Sally's work Check out her Blog at http://whatmyartisnow.blogspot.com/

Wednesday, February 11, 2009

Its a Matchbox with a new look...

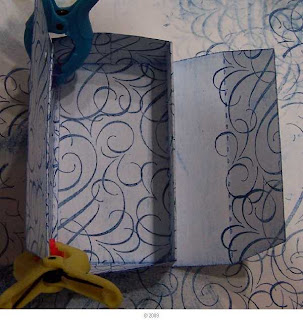
I have been wanting to do this project and after a phone call from a friend yesterday...decided I might as well work on it...I love the matchbox die cut, but wanted it to open other than sliding the drawer part out of the sleeve...so I used the sleeve to make a wrap for the box...I stamped all my pieces with Betsy's swirly background stamp Innovative Stamp Creations...
I used my little clippy things to hold the sides in place while the glue dried...
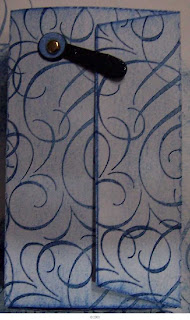
I used a chipboard die cut photo turn attached with a brad as the closure method for the flap...
This is the opened box,
This is the decorative layer for the front...
Is that not just the neatest little box...
well...I had to do another...I used another of Betsy's background stamps, her harlequin image...I love it...I stamped the drawer section and the top layering panel...I covered the rest of the box with a pattern paper that had a harlequin pattern on it...I used a nestie bird from red paper...
I used a chipboard photo turn as the closure, I colored the chipboard shape with maroon ink, then added a thin coat of glossy accents...I punched holes in the scalloped nestie shape, then sewed the edges with this pretty ecru and gold thread...

I and tickled with the new look to the matchbox...and just imagine all the themes you can use for the decorative layers on the front...remember, You...are only Limited by your Imagination...
check out the matchbox die cut at http://thestudioinpreston.blogspot.com