Showing posts with label Nugget box. Show all posts

Wednesday, October 29, 2008

Anniversary Gift for hubby

I made this matchbox/nugget box filled with candy as a little anniversary gift for my hubby...Our 5 year anniversary of our first date is tomorrow...it was one of the best days of my life and next to our wedding day, is still the most special to me...I used a background stamp from Innovative Stamp Creations to stamp the box sleeve with brown ink, then dusted on some teal blue...I love it...its very pretty in real life...not sure why its so weird looking in the photo...I stamped the sheriff star in brown and colored it with teal, cut it out and added gold glitter dots on the star points...
I used my smallest scalloped spellbinder die and a 1.25 punch to make the covers for the mints...Stamped words are from a set of images from Innovative Stamp Creations...Notice the little box is bulging with goodies...

Here are all the candies with there stamped covers...He loves Batman, and collects wolves...so i think I covered all my bases here...The candy bar on the bottom is a kit kat bar, the snack size, two of these will fit in the box, but I wanted more variety, so decided to add some of all the goodies...I am going to be teaching these next week at my Scrap n Stamp at The Studio day...Be sure and check out my studio blog at http://thestudioinpreston.blogspot.com for lots of die cuts and http://www.innovativestampcreations.com for some awesome images to use in your stamped art...


Thursday, October 02, 2008

Matchbox/Nugget Boxes Revisited...


Samples using the matchbox die cuts...With the gift giving season upon us...This is a great way to share treats and goodies with friends, co-workers, family and secret pals...Check out the studio blog at http://thestudioinpreston.blogspot.com for kits...

Sunday, June 08, 2008

Matchbox--Nugget box--Trinket Box...

No matter which you call it...This is one of the coolest die cut boxes to make...I cut pattern paper to fit the top, bottom and both sides of this box, after i rubbed it with my teal ink to color the white die cut box sleeve...I added the beautiful images from Lisa's Altered Art and a silk flower to the top...Before I added the pattern paper to the sections, I distressed the edges with my scissors and sponged on some teal ink...
I left the sides plain on this box, but you could add stamping, other die cuts, etc...I just like the striped pattern paper and decided that was enough...
These are both of the boxes I finished today...
I love birds...and we have been fighting to save baby purple martins all week long...the little buggers keep either falling or jumping outta the nest...we did lose one, which is very sad...as I am hoping for a lot larger flock next year when they arrive in March...Anyway...we have a nest box of blue birds and I can watch the male bird feed the female, while she is sitting on the eggs...its fun to see her poke her head outta the hole waiting for him and then he gently flies up and gives her a bug to eat...LOL...I guess ya just have to be there and watch it, like I do...
The beautiful bluebird image from Lisa's Altered Art was a perfect fit for the matchbox die cut top...I cut a slit into the nest image and slipped his body in just enough to give the effect he was sitting in the nest...I added the organza ribbon bow with ribbon from Really Reasonable Ribbon...
All of the beautiful images are from Innovative Stamp Creations...Betsy has some of the most gorgeous images, perfect for the stamped collage background effects that I love to do...
I also stamped the drawer part of this box as well...I added the silk flowers with glue dots to both boxes...I used gold brads for the flower centers...

Wednesday, December 05, 2007

Treat/Treasure Box How To

I punched the scallop from green cardstock and the circle from white, stamped the Innovative Stamp Creations images in green and red...I am so tickled with my new punches...
I used the matchbox die cut to create the treat box...very simply just rubbed the distress ink pads across the white cardstock die cuts...almost gives a faux fabric effect...I have been doing this for years...and still its one of my favorite coloring methods...I did the box part in green and the sleeve in red...
After I stamped and glued the circle to the scalloped punched pieces...I glued them onto the peppermint patty top...Two rows of two deep fits perfectly in the little box...These were fun to make...and will be a hit at work...

I have been so busy at work since last week...its Tax Season...gees...the modem goes out in the main computer, can't run the reports, finish out last month or even post payments and entries...well until today...I had to account for 3 days worth of payments, etc...and guess what...we balanced to the penny...yeah...but gosh, it was an exhausting day...
I did get all active orders finished...so lots of mail going out tomorrow...if you placed an order or won a giveaway drawing...be on the look out...cause mail will be heading your way...
I have almost finished the Christmas shopping...3 more gifts...then its just the cooking/baking/chex mix, etc, that I make every year...and I get 5 whole days off for Christmas...yeah again...
Stay tuned for some new stuff coming later this week...and a new giveaway...

Friday, November 23, 2007

Snowman candy bars and treat box-Mini Tutorial...

I stamped the little snowman image from The Stamping Studio on my candy bar wrappers...then colored the carrot nose, heart and ear muff and mittens with marker...I dusted the entire piece with stonewashed blue adirondack ink...
I stamp the snowflake image on the wrapper around the snowman image...then just glue the wrapper with glue stick to secure around candy bar...
I attach the photo holder handle the the box with mini brads...
Side view of box, showing snowflake images stamped on sidees and little beads for feet on the box bottom...
The large snowman from The Stamping Studio is stamped on the matchbox sleeve...This box sleeve was cut from glossy cardstock and colored with adirondack alcohol inks...

Saturday, August 25, 2007

Decorative Favor Boxes

All stamps used on this box are from The Stamping Studio...I love the leaf set that Melissa has...I used various colors of Ranger Adirondack inks...I inked the images, stamped off once...then stamped onto my box...After all the stamping was done...I used my stipple brush and applied Butterscotch Adirondack to the entire box and tag...
Hero Arts image stamped on the tag, I ran the box sleeve thru the Cuttlebug embossing folder...sanded off the color...I used a coordinating ink color on the box drawer...
I used my Really Reasonable Ribbon to accent the box, wooden beads for feet and a photo holder die cut for the drawer pull...

Saturday, May 12, 2007

Matchbox die cut candy boxes


I used my matchbox die cut, sizzix die cuts and some punched shapes to make candy boxes for mother's day gifts and my anniversary next week...

Monday, November 27, 2006

More Art Today


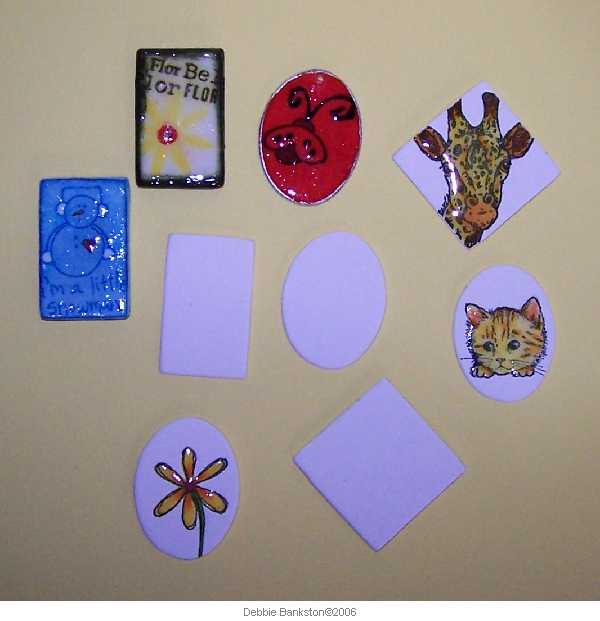
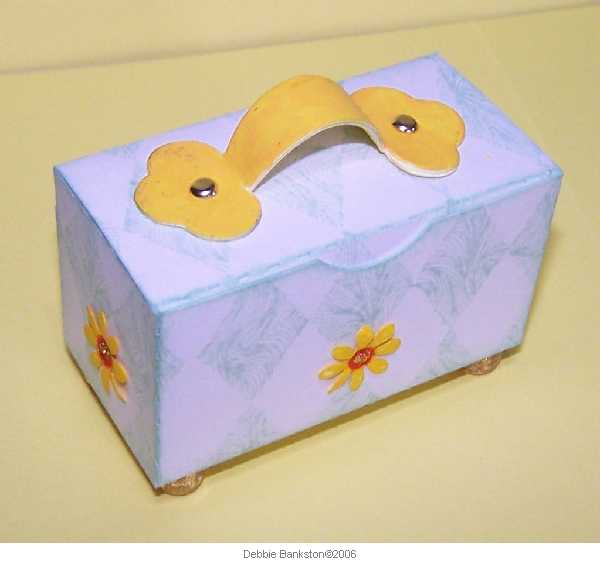
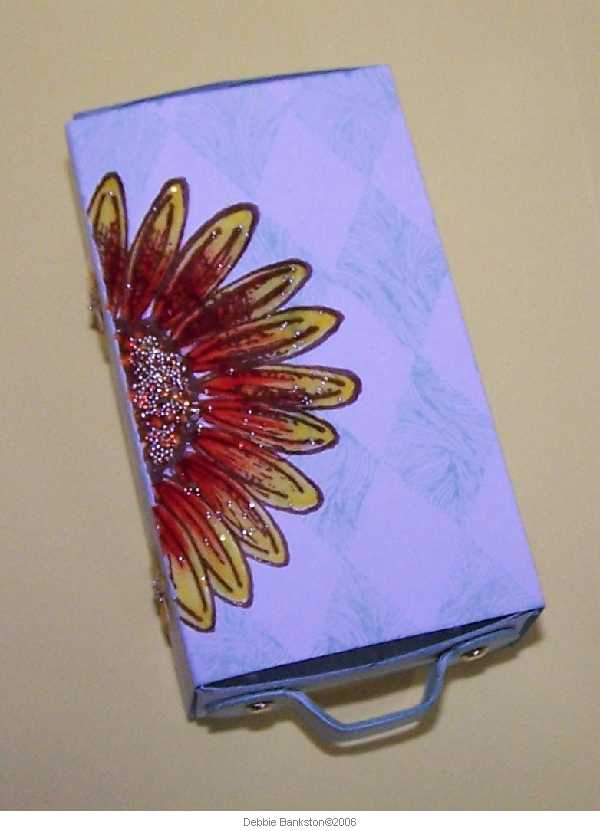
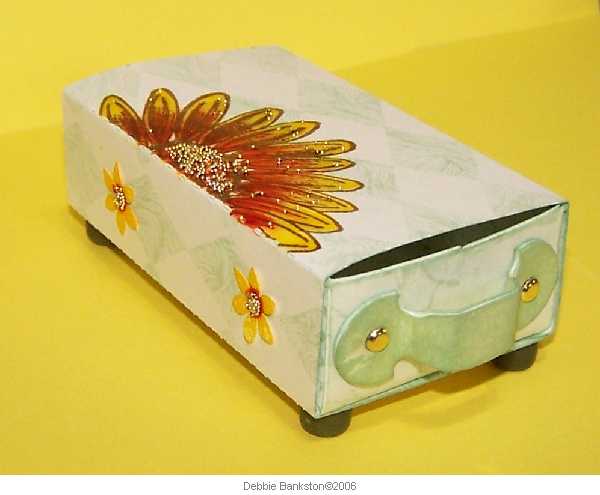
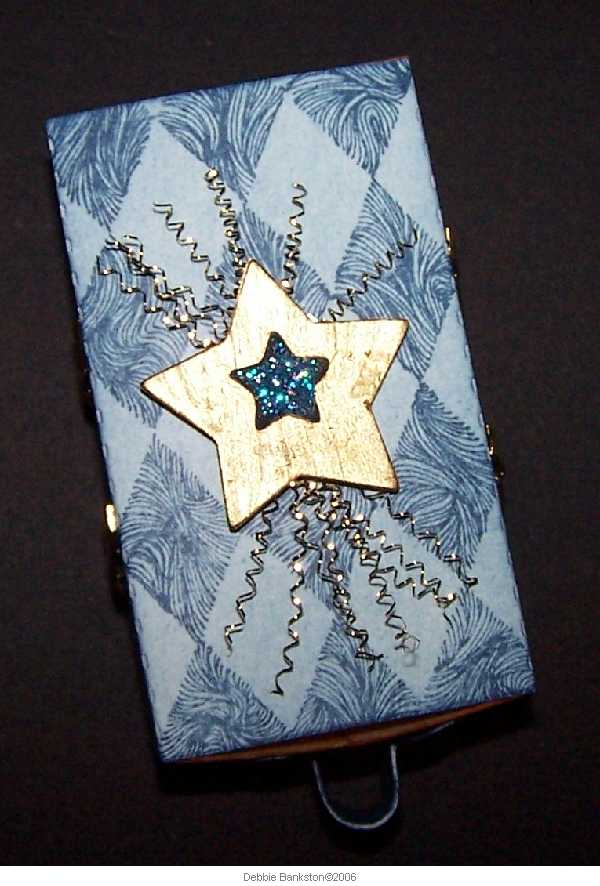
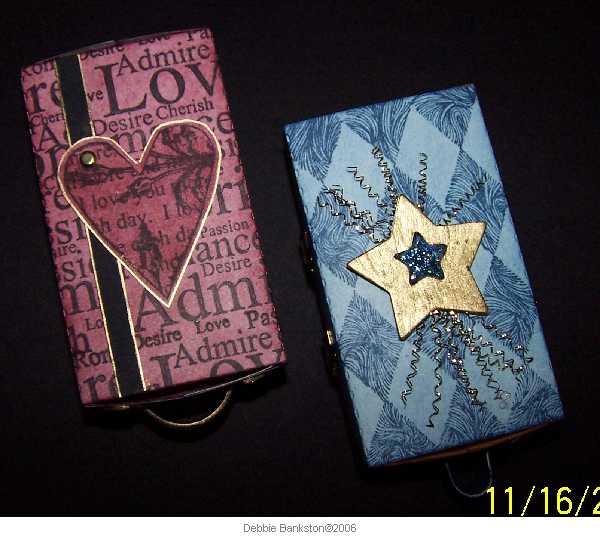
I got a good start on some of my Christmas gifts today...got some of the mat board die cuts started for the necklaces and bracelets I will be giving to my grand daughters and niece...Finished up some boxes I started yesterday...and got all but one of the die cut orders from the weekend, cut and shipped...The pelican box uses stamps from Lasting Impressions with Panache...The Sunflower box uses stamps from Innovative Stamp Creations...I love that harlequin background...Betsy did an awesome job creating that stamp...The mat board pieces are stamped with images from TAC and The Stamping Studio...I think the little cat is a PSX...but not sure...One of my grand daughters is into cats and that is the only one that would fit...If you have any questions email me at debbiesdiecuts@earthlink.net

Tuesday, November 21, 2006

Altered Art Boxes


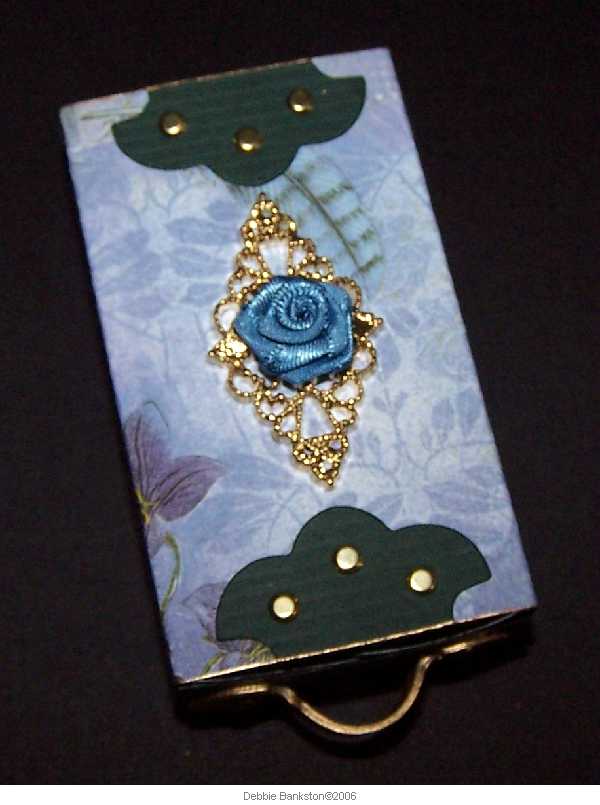
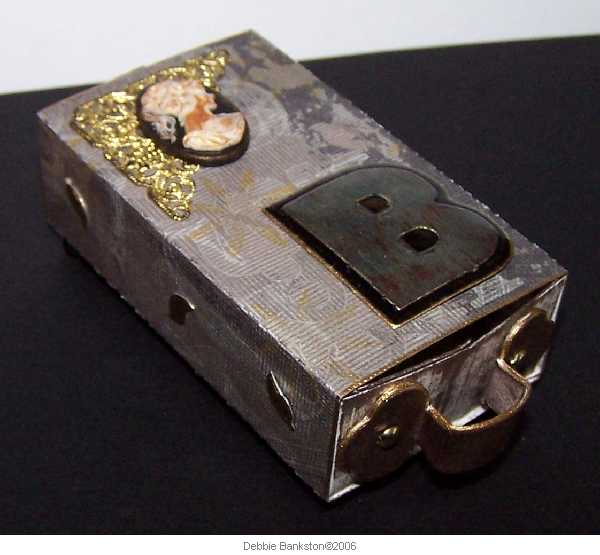
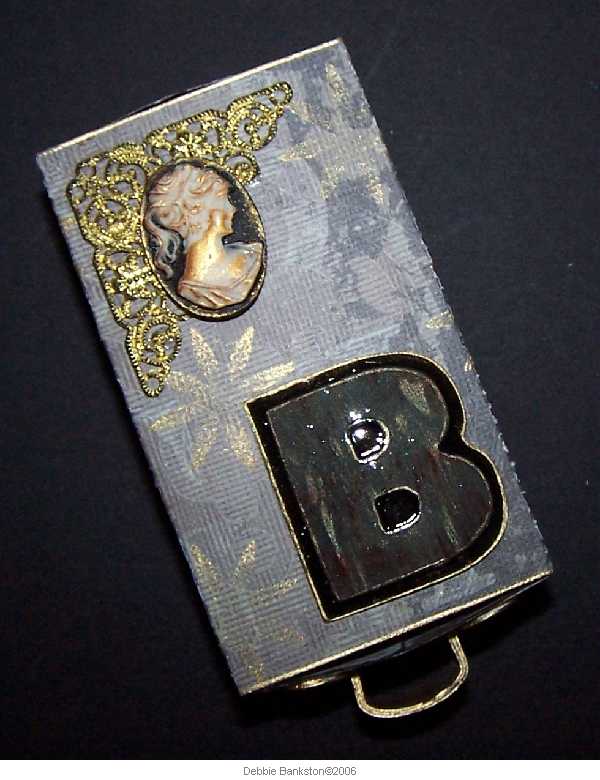
I got some more play time in the studio today...I made my box covers from Die Cuts With a View patterned cardstock...I love this stuff...I had some embellishments that just begged to be used on some boxes...The Letter B was done with my sizzix shadow box alpha...then sealed with glossy accents...all the other embellishments were glued on using glossy accents too...The lavender box was embellished with a scrap of K&Co patterned paper that I tore and sponged the edges with purple distress ink... Added prima flowers with Stickles glitter centers...and Love word charm...actually the Love word charm was the inspiration for the box...I love violets...so it worked for me...

Thursday, November 16, 2006

More Altered Box Art


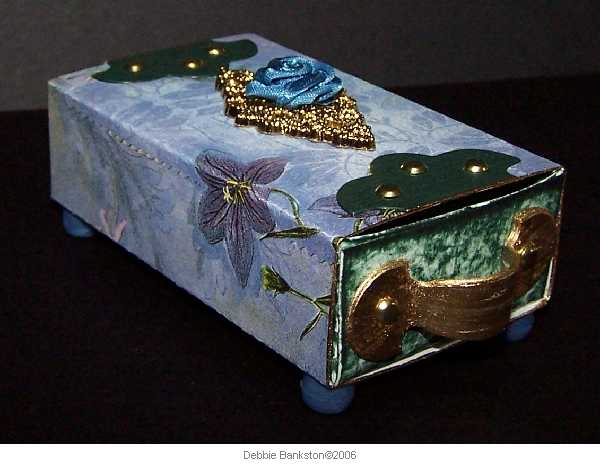
I got to work on some of the boxes I have been making notes about in my journal...I keep a journal for all my ideas...Sometimes at night, when I have my down time before bed...I make notes to myself about stuff I want to try with my die cuts...I draw little diagrams for how I want to place embellishments, add ribbon, layer, etc...I go back and look at my journal when I have studio time...and then work on my ideas...Sometimes an idea just won't work the way I would like...and other times, they work better than expected...Here are the boxes I created today...Three of the boxes use stamps from some of my favorite companies...and one box does not use any stamps...just scrapbook paper and embellishments...Hope you enjoy these as much as I enjoyed making them...