Tuesday, February 27, 2007

CD Book


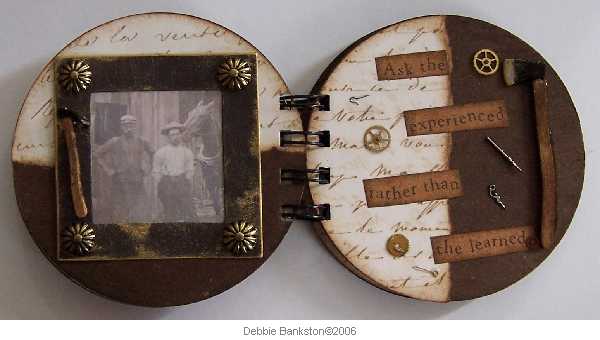
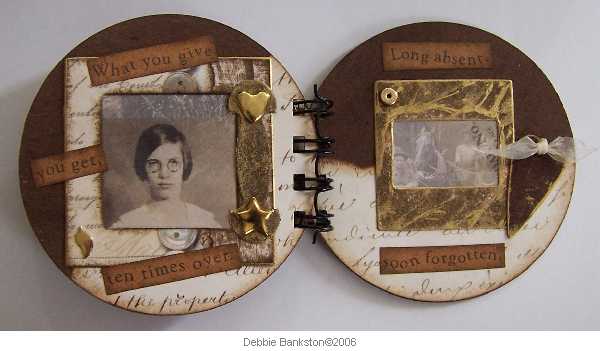
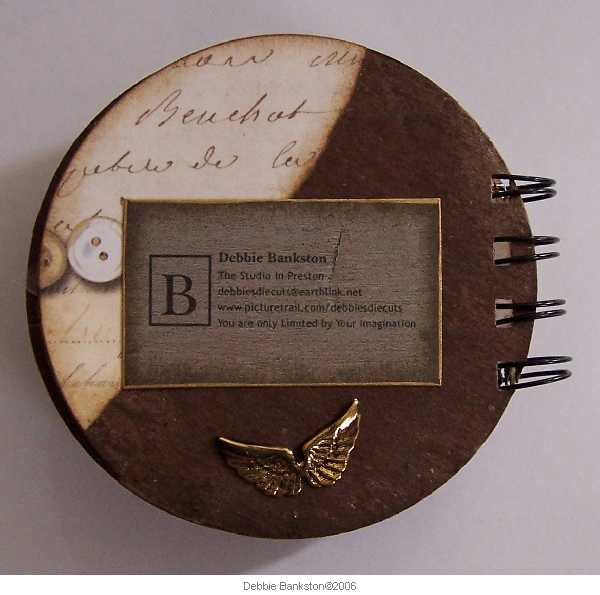
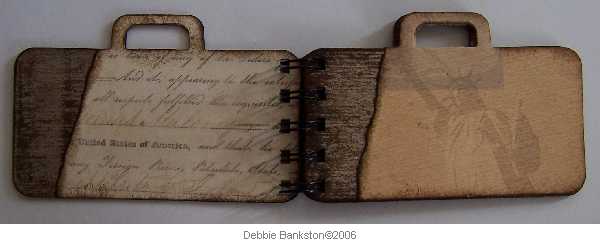
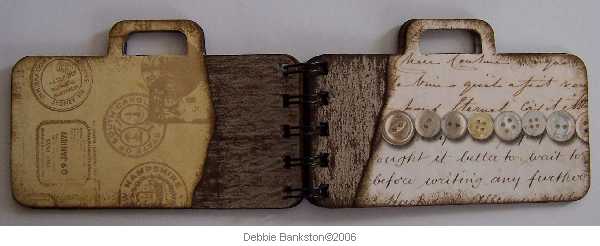
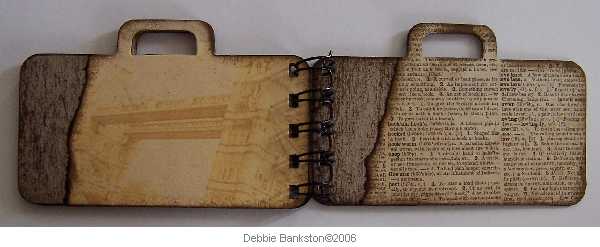
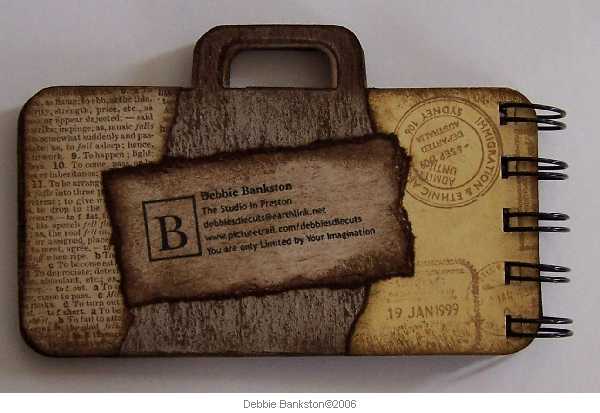
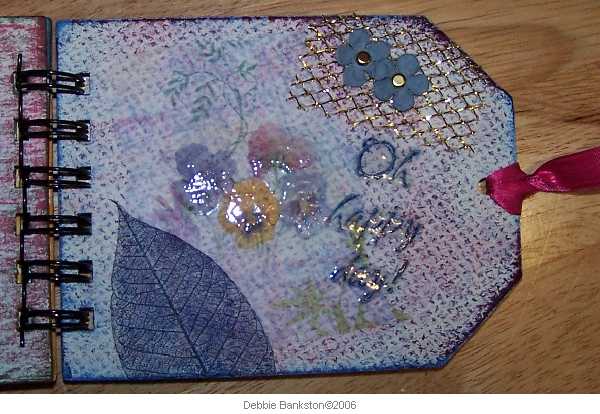
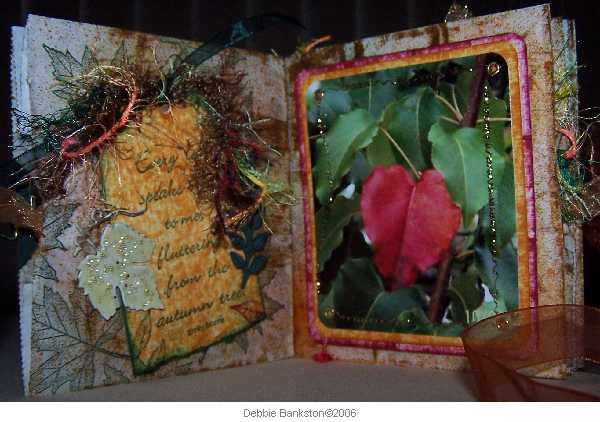
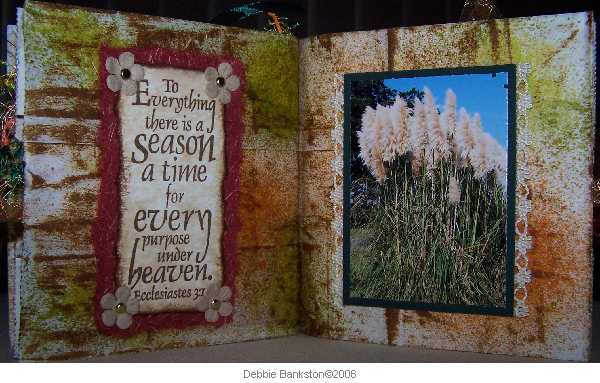
This bind it all is awesome...If you want more info about it check at http://www.bonniesbest.com I only got 3 pages done on this one today...Hopefully will finish it up, next studio play time I get...I used the Stamp and Scrap sheet from Hearts in Touch on the cover and some pages...I love this stamp set, very versatile for book making projects you can see it and more great stamps at www.heartsintouch.com
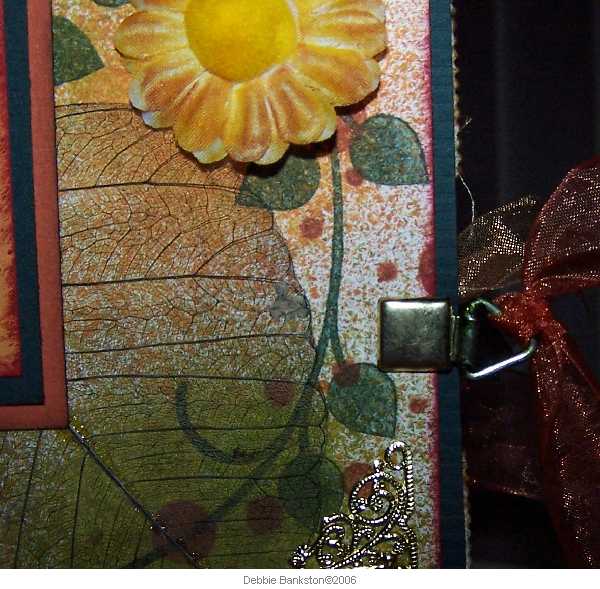
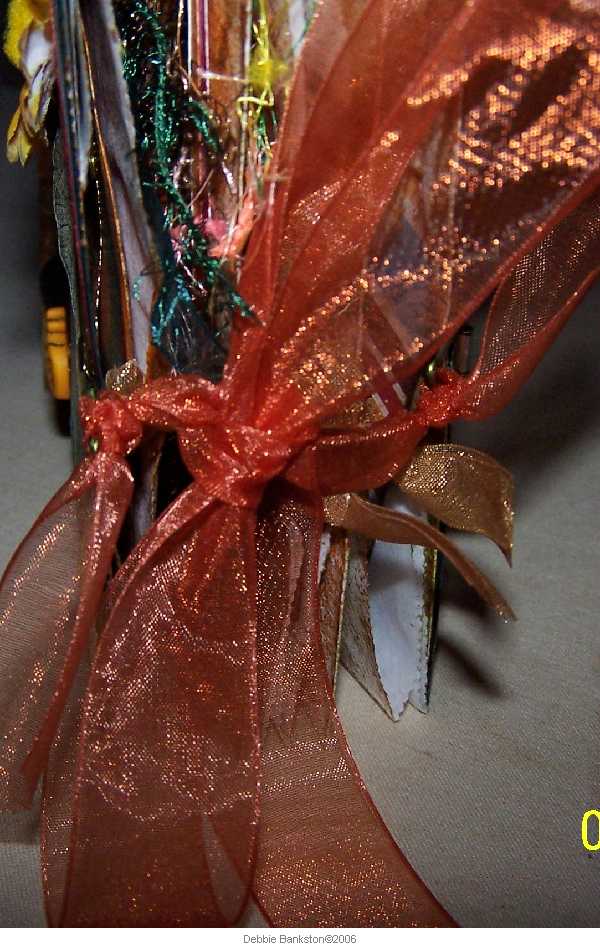
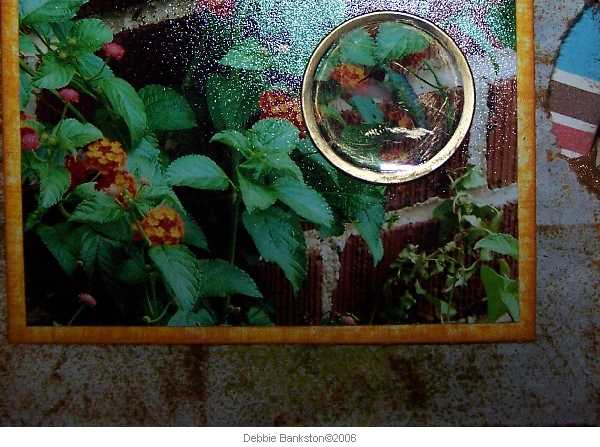
Sorry the pictures are kinda dark this time...I will retake them when finished and repost the entire book...Just wanted to share what I had done so far...

Sunday, February 25, 2007

Round Book


I am having a ball with my Bind It All...I used my Sizzix round die to cut this book...Its really not quite big enough...needed to be a smidgeon larger...but what the heck...I like it...I dont have any cds to cut yet...so I cut this from chipboard, then used collage look pattern papers and cardstock on the pages...

Luggage Book


My luggage die cut makes a perfect Bind It All book...This was so fun to make...I will finish it later, but this is the base book for now...Stamps on cover are from www.innovativestampcreations.com Bind it All from www.bonniesbest.com Random scrapbook papers were used for covering the chipboard pages...

Thursday, February 22, 2007

Bind It All Rocks


I ordered a Bind It All yesterday from Bonnie Boyle of Bonnies Best, http://www.bonniesbest.com and it came today...How cool is that...This is an amazing little machine...I am gonna go crazy making books...I made this tag book today...I will add more foo foo to it...but this is what I have done so far...

Wednesday, February 21, 2007

My First Paper Bag Book


This has been a fun project...I will definately make more of these...This is the front and back covers...as well as some random photos of the overall book project...If you have any questions about any techniques I used, you can email me at debbiesdiecuts@earthlink.net

Paper Bag Book Inside Pages


These are the main inside page layouts...

Paper Bag Book Finished


Well...for the most part anyway...I may add a tiny touch here or there...but this is it...Its the first one I have ever made...I am pleased with how it turned out...and I had a ball working on it...These are the detail pages...Close ups of embellishments I added to the pages...The leaf was cut from chipboard, painted white, then colored using a dye based ink pad, then coated with glossy accents, while wet, I added some Suze Beadazzles...The Sunflower was stamped and colored, then coated with crackle accents, then coated with brown distress ink, then sepia accents added to the flower center and Beadazzles added...The clear metal rimmed disc was glued over the hummingbird part of the photo using glossy accents...It was the perfect accent to make the hummingbird show up in the photo...

Wednesday, February 14, 2007

Alcohol ink playtime


I enjoy playing with my alcohol inks...and after some questions about coating chipboard and then using alcohol inks to color it...I played with some to see how it would turn out...I used my Cuttlebug dies to cut the chipboard shapes...then colored them with a thin coat of Adirondack acrylic paint...when dry, I coated them with a thin coat of Ranger Glossy Accents...after that dried, I applied the alcohol inks to color them...I love the way they turned out...I even used the Ranger Crackle Accents on the leaf die cut embellishment I made for my glossy cardstock, sticky notes book cover...after it was dry and then cracks formed, I rubbed distress ink on the leaf...and wiped off the excess with a paper towel...i will definately be making some of my own embellishments using these techniques...

Tuesday, February 13, 2007

Tags for Paper Bag Book Pocket Pages


The design of my paper bag book, gives me 3 pages that will be pockets for holding stuff...I made these tags to go into the pockets...I will be adding more stuff to the tags...but this is what I have done so far...One Touch of Nature tag: I stamped the verse onto a piece of acetate using Stazon ink...then I cut it out using deckle edge scissors...then used Ranger Alcohol ink on the back in butterscotch and gold metallic mixative...I trimmed the piece with gold krylon pen...I attached the acetate piece to the tag with eyelets using my Crop a Dile...

Sunday, February 11, 2007

Giraffe ATC


I got this really neat Giraffe stamp from Sun Spirit Studio...I used glossy cardstock and my die cut ATC and ATC frame...I stamped the ATC with the giraffe image and the frame with a rubber stampede background image...I then used a stipple brush and Ranger Butterscotch ink to add color to the ATC and ATC frame...The tag is cut from chipboard using a Cuttlebug die, colored with white acrylic paint then colored using Teal Archival ink...words are from Hero Arts, I coated the tag with Ranger Glossy Accents and added some Beadz from Suze...I attached the tag using a heart brad...

Tag Art Today


I made this tag for a swap I am in...Green and Yellow Tag Swap...The buckle is cut from a Cuttlebug buckle die using glossy cardstock and I colored it with Ranger Alcohol Inks...I added Stickles glitter glue to the dragonfly...

Saturday, February 03, 2007

Sticky Notes Book


I love to make the Sticky Note Books using my die cut...I used my new stamps from Time to Stamp...The Flowers and Leaves sheet...I love the hydrangea...I stamped it, masked it, then stamped the small fern all over the die cut...then I used Marvy Markers watercolor technique to watercolor the flower...then I masked it again and used color duster brushes and distress inks to add color to the entire die cut piece...The vellum piece was printed, but you could stamp it also...I attached it with brads...

Thursday, February 01, 2007

Die Cut Frames


I played some today with my die cut frames...i cut one of each frame from white cardstock and one from a patterned paper...then using stamps from Innovative Stamp Creations and Ranger Inks...I decorated the white die cut frame...then tore the patterned paper frame and glued over the top of the cardstock frame...sponged the edges with ink and added a photo...So much fun to make and wouldn't these look great in your scrapbook or in a frame on your wall...