Saturday, August 25, 2007

A Folio that is easy and fun to make

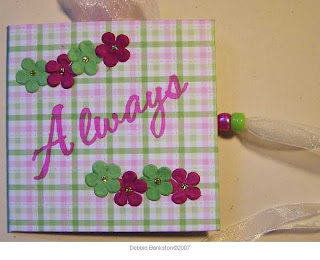
One of the first paper crafting things I taught years ago, was a folio, just like this one...I cut the covers from chipboard using my sizzix square die...The pattern paper was just my colors, so that choice was easy...I used prima flowers that matched...and the word Always, is from Innovative Stamp Creations...Betsy made that word stamp just for me...The beads, are the closure for the folio...
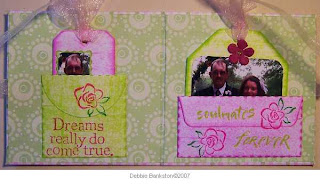
If you look closely, you can figure out exactly how the folio is made...I glued the chipboard covers to the backside of the covering pattern paper, leaving about a 1/8th inch gap between the chipboard pieces, cut the inside liner piece about 1/4th inch smaller that the overall measurement...Before you glue the inside liner, be sure you glue your ribbon to the chipboard covers...I used approx. 20 inches of organza ribbon from Really Reasonable Ribbon...I love Debbie's ribbons, she has so much to choose from...
I used one of each of my mini envy's and small tag shapes...I glued the envy's and then turned the flaps to the outside...Then glued the envys to either side of the folio inside panels...I trimmed the photos to layer onto the tags...Wouldn't this Folio make a neat party invitation...Just think of the possibilities you could use this Folio idea for...The folio can be made to any size...Once you decide the size you want the covers to be...then you cut your pattern paper covering paper 1 and 1/2 inches larger...If your covers are 3 inches x 5 inches...cut your covering paper 4.5 x 6.5...Center your 3 inch chipboard covers with approx 1/8 to 3/16th inch gap between...unless you are using really thick chipboard, then you might need more of a gap...play with it, to get a feel for what is needed, before you glue your chipboard covers in place...Once your chipboard is glued to the backside of the covering paper, trim the corners and fold the excess paper over the chipboard, glueing it in place...Add your organza or any ribbon to either side of the cover...then measure to be sure what size your inside liner paper needs to be, cut and glue in place...be sure, you glue the gap section in place first, then each side...

Decorative Favor Boxes

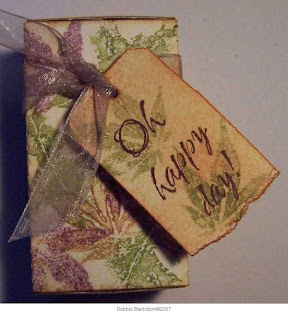
All stamps used on this box are from The Stamping Studio...I love the leaf set that Melissa has...I used various colors of Ranger Adirondack inks...I inked the images, stamped off once...then stamped onto my box...After all the stamping was done...I used my stipple brush and applied Butterscotch Adirondack to the entire box and tag...
Hero Arts image stamped on the tag, I ran the box sleeve thru the Cuttlebug embossing folder...sanded off the color...I used a coordinating ink color on the box drawer...
I used my Really Reasonable Ribbon to accent the box, wooden beads for feet and a photo holder die cut for the drawer pull...

Playing with Colorwashes


I ran a piece of vellum thru the Cuttlebug embossing folder Friends...I then tore out the words I wanted to use on the cover of the Sticky Notes Book...I attach the vellum pieces with brads...

Saturday, August 18, 2007

Card-Buckled Up

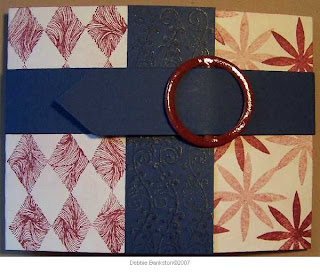
I had been wanting to play with a buckling effect for a card front...had this on my idea table for a few weeks now...The buckle is made from a Cuttlebug die...it was not actually a buckle die...but thats what I saw when I looked at it...I cut it outta chipboard, then colored it with ink and coated it with Ranger Glossy Accents...Now, it was a buckle...well it needed a card...I stamped the card using various images from Innovative Stamp Creations using Maroon ink, then I stamped the blue strip with Brilliance Gold and Cobalt blue...kinda looks like the gold is shadowed by the blue...
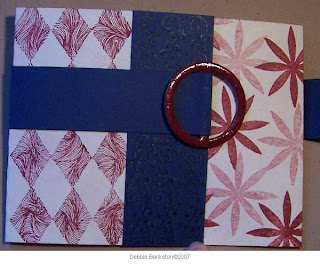
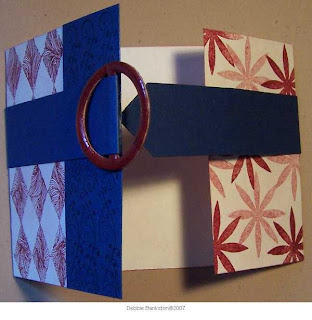
This just shows the strip that wraps around the card before I thread it thru the buckle...The card started out as a 4.25 x 11 inch strip...basically a piece of cardstock cut in half the long way...then I scored the card at 2.75 and then at 5.50 from that score line...I added the blue strip so that it overlapped the opposite front side by about 1/2 to 3/4 inch...I really did not measure, I just kinda eyeballed it til it looked good...LOL...
I made a little pointy end to my wrap but just scoring it to a point and gluing it in place...I did not have time to finish the inside with a stamped message...that will have to wait...Can you imagine the possibilities with this concept...fun Invites, B'day wishes, Get Well and more...and Color combo's, pattern papers, Oh and using real ribbon instead of paper for the wrap...and just about any buckle will work...More to come using this idea...

Decorative Painting of Stamped Images

This will always be one of my favorite things to do...Stamp images onto paper surfaces, then use my decorative painting techniques to color the images in...This is one of my favorite Santa images, its from Stubby Stampers...I colored the santa hat red and coated with Glossy Accents, the rest of santa was painted using acrylic paints...
This image from Hearts in Touch was painted many years ago...I enjoyed painting her...She was done using acrylic paints also...She was cut out and layered over the background...
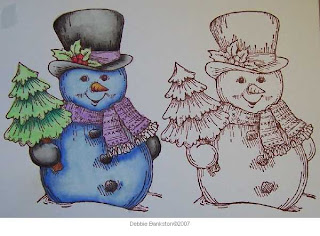
I cannot remember who makes this snowman...I forgot to look when I was at my studio this afternoon...I taught the painting techniques on this snowman a few times about 10 years ago...that when I painted him...he is not quite finished...but hopefully this year I will finish him up...I used cake style watercolor paints with my decorative painting techniques to paint the sample...
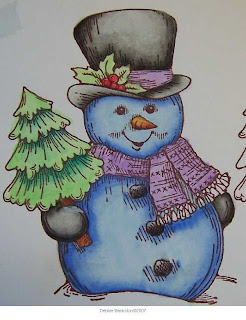
This is a closer view of the snowman...you can see the unfinished sections...he is on the work table for now...maybe I won't accidently cover him up...LOL...yeah...right....

Faux Layering Effects

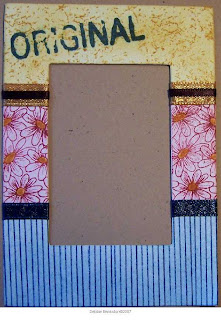
This frame has the effect of 3 different papers being layered onto it...but its actually one flat surface, that I masked, stamped, stippled with color...I put a band of ribbon between the "layers" for added dimensional effect...
Except for the tag layered onto the front...The background of the card is one flat piece, with a faux effect of one piece layered over another...
This frame looks to layered also...I masked the frame in half, then after I stamped the images, I used the same color to stipple with...I used the ribbon for dimensional effect over the background "faux layers"
I did a piece similar to this years ago as gift...I stamped onto pieces of tissue paper and then decoupaged them onto a frame...Here I just stamped the images onto the frame, using a little bit of masking here and there, so that the overlapping was not too noticiable...I sponged the inner and outter edges of the frame with black ink...I used a blender pen to add coloring to the faces...All the stamped used on the frames and card are from Innovative Stamp Creations and can be seen at http://www.innovativestampcreations.com All the die cut frames are available at http://www.picturetrail.com/debbiesdiecuts

ATC's and Puzzle Pieces

This ATC uses one of Betsy's ATC stamps... http://www.innovativestampcreations.com/ I love this stamp and use it for more than ATC's...I added a layer of Ranger Glossy Accents to the butterfly to give it dimension...The background was created using masking and stippling color on...
This is one of Betsy's neat collage images...I love this stamp...you can cut the image apart and use it with all sorts of projects...I masked sections of the ATC, then stamped the image and stippled on Ranger ink colors...
I stamped that same image onto a puzzle piece, then using a blender pen, colored in each section of the stamped image
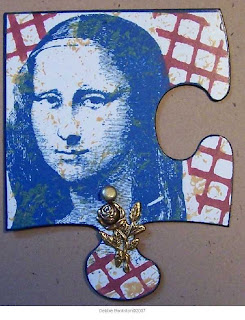
This puzzle piece I cut from glossy cardstock, then stamped various stamps from Innovative Stamp Creations and trimed the edge with black...

Tuesday, August 14, 2007

Debbie's Stuff

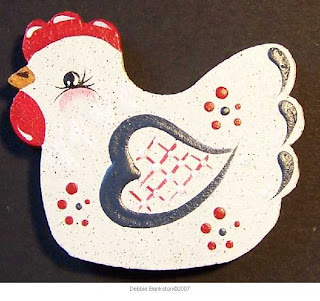
This is a little chicken magnet I painted about 7 years ago...she had been packed from my move and I just found her...This is one of the wood pieces that I used to paint and sell at craft shows back in the day...This is one of my original designs...This is done on a small birch wood cut out...but I also used to make her large enough to be the front of a paper towel holder...I used to also do a Rooster...My moma still has the rooster, I painted for my daddy...We raised chickens when I was growing up...just for our personal use...but it was fun to paint them and sell at shows...
Napkins...why, you might ask...I joined a swap on the SSR group and I used a napkin in my swap piece...Now...we are going to have a Napkin Swap...yeah...These are some of the napkins I got from a Napkin Swap about 10 years ago...Most I only have the one of each of...so might not use them right away...but they are some of the prettiest napkins I have ever seen...LOL...My hubby says "it don't take much to impress you, does it?"...and he is right...I am SOOOO Easy...LOL...

Framed Again

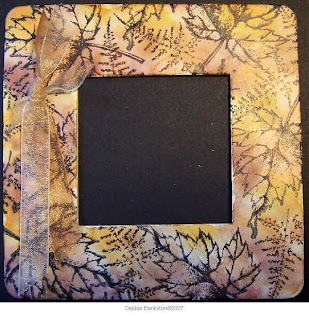
I just love my new square frame die cut...and I am having a good old time creating with it...I did the Alcohol Ink on this frame and then used leaf images from http://www.timetostamp.com I just love Kristy's images...and added an embellishment I made using organza ribbon from http://www.reasonableribbon.com I love the Fall...its my favorite season...
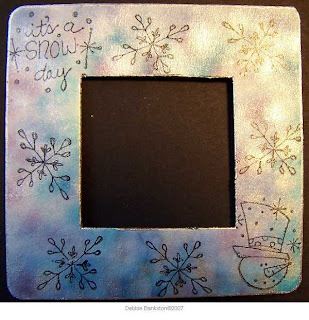
Ah...here are my snowmen again...I did the same Alcohol Ink technique on this frame...and then stamped my snowmen set from http://www.thestampingstudio.com using Black Staz On ink...
Here is a closeup of the images and the AI colors used...I also used Silver Mixative with this one...I just think the silver coloring and edges make it look frosty...

Card and Envy's Squared

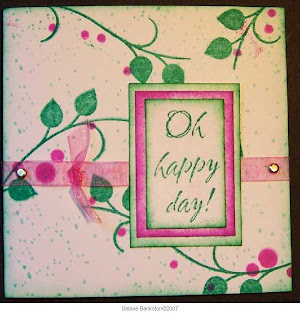
I just love square cards...I made a bunch of notes in my journal of some stamps I wanted to use and this is what I came up with...so far...These stamps are from http://www.thestampingstudio.com I adore Melissa's stamp sets...I want them all...I used Ranger inks and Ribbon that I inked to match from http://www.reasonableribbon.com
I secured the ribbon with doublestick tape under the sentiment layer, and then used brads to attach the ends to the card front...
This is the square die envy from http://www.debbiesdiecuts.com I enjoy making envy's to match my cards...Now...who might I send this too...
This is the finished set...A pack of 3 would make a really nice hostess gift wouldn't it...and Oh, the possibilities are endless...
I love snowmen...and this set from The Stamping Studio is among my favorite stamps ever...I used a pattern paper as my background, then stamped the images using Ranger Cobalt Blue ink...I love that blue ink...I also colored the white ribbon from Reasonable Ribbon using the ink pad...I love the organza ribbon that Debbie sells...I stamped the square envy to match the card...ya know...the concept will make some nice quick invites to my Holiday cake and coffee times....

Monday, August 13, 2007

Getting Started

I begin by basecoating each wood piece, or coaster, or matboard shape with Folk Art off white acrylic paint...I paint on a thin layer, let this dry, rub lightly with brown paper sack, paint on a second thin coat of off white paint...Let dry...-the brown paper sack, acts as a sandpaper of sorts, but does not remove surface like sanding will...its better on the better quality of woods...I use mostly birch shapes...This is the first step to working with the Alcohol Inks on the pieces to follow...
I made myself a jumbo craft stick puzzle holder in place board...LOL...I took a piece of Poster Tape...this is a very strong, removeable double stick tape...I adhered a strip to a piece of crafting plastic...then remove the covering...now, I can stick my jumbo craft sticks, or other pieces to the tape and work on them with out them flopping all over my table...yeah, thats another don't ask...

The Alcohol Ink Binge

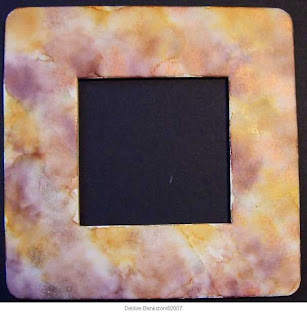
I have been on an Alcohol Ink Binge of sorts here lately...and I am having a really "high" time...This is a coaster, I used my new square frame die on it...which basically just cut the inside out and made the frame...I based the coaster frame with the Folk Art paint from earlier directions...Then when it was completely dry...I used Alcohol Inks to color it...I did not have time to get this one stamped...So it will get completed later...
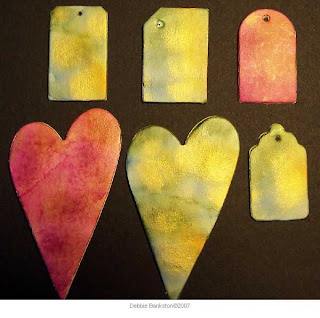
These are some mat board die cuts, I started them the same way as noted above, but used different colors of AI on them...
These are some pieces that I did have time to stamp...The paris piece is the inside of the coaster...the others are all birch wood shapes...Aren't those little cubes cute...they would make great ceiling fan pulls...Oh...just imagine the possibilities here...The other piece, is going to be a magnet...
Here I cut a matboard puzzle using my puzzle die...I painted each piece with the off white acrylic paint...then using my puzzle holder in place board I showed earlier, I stuck the puzzle down, put together so I could use the AI on it...then I did the stamping...when that was dry, I took the puzzle off the tape strip so I could photograph it...Someone is gonna get this in the mail really soon...
This was one of my favorite pieces of the day...This was a plain paper mache box...I base coated the box with the off white acrylic paint...as noted above...Used the AI and then stamped using Staz On ink...

I'm so Puzzled

I have been having a blast playing with these Jumbo Craft Sticks...or Art wands as we call them now...This is a fall themed napkin used to make this puzzle...and dang it...its hard to put back together...LOL...ah, but I love a challenge...
This was not so fun to use...I used a baby print tissue paper, but its the kind with the glossy finish...made me say uglies...won't be making anymore of these...but it is cute...regular tissue paper with out that finishe works great tho...
My grandson, of course took this one...he loves it...A Buzz Lightyear napkin and it looks great as a puzzle...Y'all gotta save them napkins now...LOL...
This of course is my favorite, anytime I get to stamp something, its my favorite...I used stamps from Time To Stamp and Innovative Stamp Creations...The green blue color is actually very pretty...but did not photograph well at all...

Wood Book Pages

I have had this stack of wood pieces for about 10 years now...back from the decorative painting days...I have wanted to use some and try a book ever since I got my bind it all...Well...you dont want to punch thru the wood...but, I knew that bind it all was gonna be my guide to binding anyway...I used a coaster and punched the binding holes...then took a wood piece and marked out the hole spacing...and then brought out the big gun...well...my crop a dile that is...and used that bad boy to punch the holes in the first wood piece...then this would be my guide for future books made from this...I prepared my wood pieces as described in an earlier post...and then marked my hole spacing...I decided I did not want to use all six holes...so I marked for the two outer most holes, leaving the two center hole spaces unpunched...I just liked that look...
So, I punched each wooded page with the four holes I wanted...Then I did the AI technique to them...and let them dry...Then I stamped each page using some of the most beautiful stamps Betsy has yet...You can see all these women at http://www.innovativestampcreations.com
Once all the stamping had set up and was dry, I sealed each piece with Royal Coat Decoupage Medium...

Wooden Book