Saturday, June 30, 2007

Storage room clean up


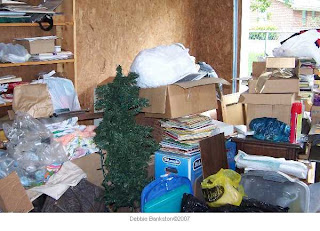
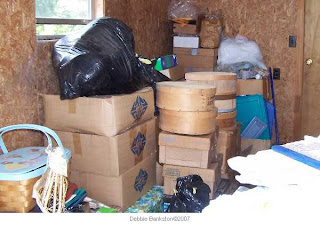
I finally got to finish going thru boxes in my storage area of my studio...some of these boxes have been packed up for over 6 years...I had no idea what I even owned...needless to say...i found some awesome treasures...at least i was able to weed out all the garbage, and ucky stuff from inside the boxes, condense some...and now, within reason, I kinda think I know what I own...at least I know its in a box in this room...LOL...now...hopefully when I get studio time...it wont be cleaning up in the storage area...

Another Coaster Magnet and more


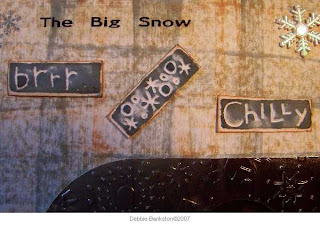
I just love my newest embossing folders...I had to make another coaster magnet using a die cut frame and embossing folders then some layering...The tag on the bottom was embossed, rubbed with pigment ink pads, clear powder added, heat embossed, then I stippled with black ink and edged with a black marker...I rubbed the excess black from the heat embossed areas...So I guess this would kinda be Double Embossed...its a cool technique...

New photo embossing stuff


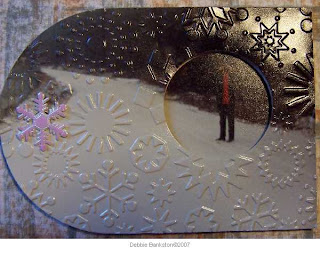
I am having so much fun with my Photo embossing technique...I bought a bunch of new embossing folders last week...I highly recommend http://www.crazyscraps.com/ for some great deals...and customer service that is super...Ok...I wanted to play with the snow flake and snow man embossing folders...and here is what I come up with...

Sunday, June 24, 2007

Studio Time


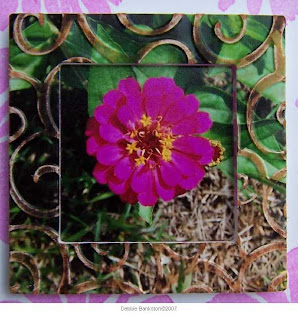
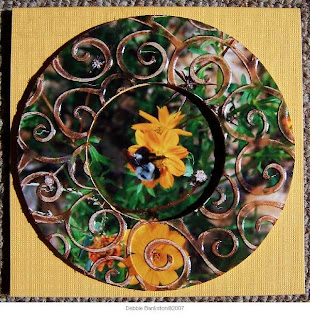
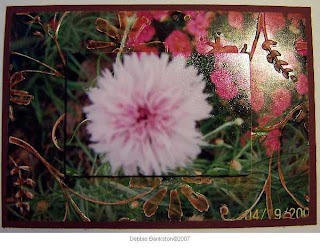
I started my studio storage room cleaning out and organizing today...I was not sure I had made a wise choice for my time today...but, I have to get it started...I found so much stuff I did not even remember I owned...LOL...I did get to make a quick card using my embossed photo technique...I used a floral stamp from Innovative Stamp Creations...

Thursday, June 21, 2007

Vacation Photo

What do you see in this photo?

Coaster Magnet-Embossed Photo Technique


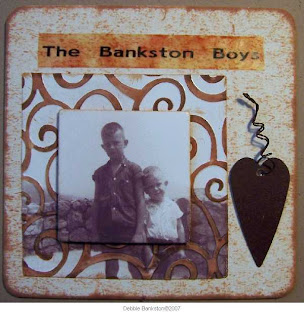
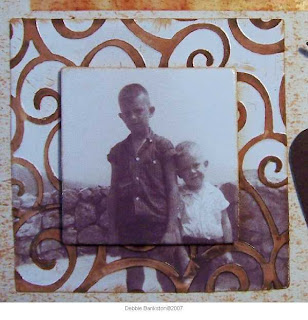
I wanted to try my technique using a printed at home photo...to see how the cuttlebug embossing and Ranger Distress ink took to the Kodak Photo paper I used...it worked great...almost better than the wal mart prints...I have a little more foo foo to add to the coaster magnet...as I will give this one to my mother in law...its of my hubby and his little brother...I used my Letra tag label maker with clear labeling and then used alcohol ink on it to add the coloring...I glued the frame down flat and raised the center photo part using pop dots...I also added a rusted heart accent glued on using glue dots...

Wednesday, June 20, 2007

Coaster Magnet with post it note

I will be making quite a few of these as quickie gifts this holiday season...I threw this one together just kinda playing around...it did not turn out quite right...if you notice I did not place my word "A" correctly and it kinda got lots in the torn paper layering...but I wanted to share the idea anyway...I used one of my small Sizzix frames, small post it pad and Letra Tag to make the label words...I rubbed my ink pad directly on the coaster and then added the layer of torn scrapbook paper...After I embossed the frame part of the die cut, I sanded it lightly to remove the ink from the raised part of the photo...I put a magnet on the back and will use this on my fridge since it has the boo boo on it...LOL...You can also add mini calendars...I just could not find one this afternoon...I will work on that later...

Take out Box Favors


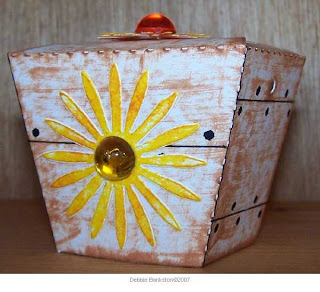
I needed some goodie boxes to share some treats with co-workers...and I used my Take Out Box die cut...to create these...Each one will contain a little mini muffin of Banana Nut Bread and some awesome candied Pecans my mom just made...There are so many possibilities with this die cut...I will also be making some for my mother in law to use for her Red Hat meeting this fall...You can see this box die cut as well as other on my picture trail site at http://www.picturetrail.com/debbiesdiecuts.com

More Embossed Photo Art


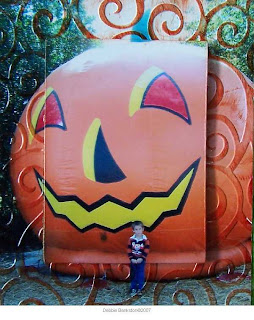
I am having so much fun with these photos and embossing folder...The tags are two die cuts...I used one to cut the photo and then one to cut the center out...it worked great to make a tag frame...then embossed the frame part and put the photo back together...I used the round sizzix die cut on the circle, and one of my Evolving Images Round templates to cut the center...the templates are clear acrylic and allowed me to find the center and cut it out...I then antiqued this one...buy rubbing it with the sanding block and tea dye distress ink...The Rectangle Sizzix frame is what I used on the bottom photo...I used this frame because the center cut out part is bit larger and I wanted more of the large pumpkin to be the focal part...after I embossed the frame, I rubbed it with Russet Archival ink..and heat set it to dry the ink...I then raised the center and glued the frame down flat...

Tuesday, June 19, 2007

Tag Book Page


This is a page for a tag book I am working on from last years Pumpkin Patch visit...I used my larger frame die and cut the photo...embossed the frame in the cuttlebug with the swirl pattern...rubbed russet ink over the embossed area...I raised the frame using pop dots...I am just loving this technique...I will be adding more photos and pages to this book...and will share them as I get to them...The two little girls are our 10 year old grand daughters...

Coaster Magnet with Embossed Photo Frame


This is one project I will be making more of...My family is gonna get lots of handmade goodies for Christmas...and Coaster Magnets will be one of them...I used my ATC die cut frame on this photo, I used the floral embosser from Cuttlebug...it does not show up as well as the swirls do...but it does in person...I love it...I used my Letra Tag to make the words...I love that little machine...I just rubbed a distress ink pad across the coaster to color it...i think its called straw...sorry, I am bad with remembering the names of the colors...as my computer is at home, not in my studio...These coaster projects are a blast to make...

Embossed Photo Tag


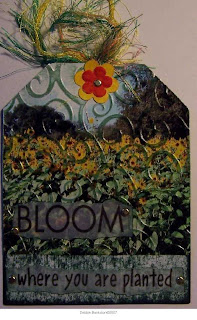
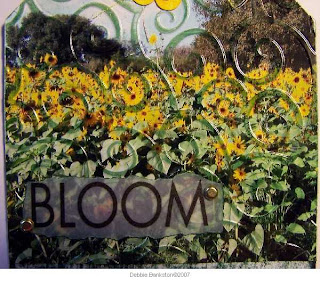
I used my tag die cut to cut the tag shape from the photo...then ran that thru the cuttlebug folder to emboss the entire piece...since it was just the height of the photo...I layered it onto a full tag die cut...I rubbed the ink pad across the embossed tag to hit the raised part...I then tore a vellum quote brushed the edges with ink and attached part of the phrase to the photo and part to the tag bottom with brads...I added some fibers and a die cut flower to the top of the tag...

Embossed Photo Frame


This embossed photo frame was cool to play with...I took one of those little sanding blocks, like you use on fingernails...and ever so lightly ran it across the embossed part of the frame...only hitting the raised part and not the entire photo frame...then I used my tea dye Ranger distress ink pad...and rubbed it ever so lightly across the sanded part of the photo...I hope the contrast shows well enough in the photos...it looks awesome...I will be doing some more of these...as I like this look...I did this one a little different as far as putting the center part of the photo back in...here I glued the embossed frame part down flat and raised the flower in the center using pop dots...Y'all gotta try this...its just too cool...

Monday, June 18, 2007

Coaster Project


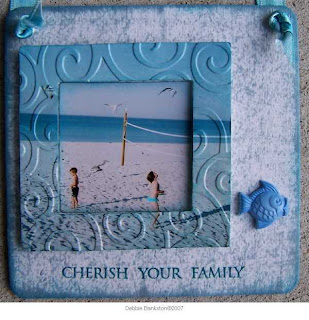
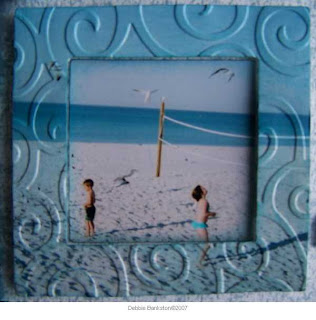
I finally got to make this...I made notes to try it and could not get enough time...this was a quicky one...I will do some others later...but, this was fun and quick to do...Any size die cut frame will work...run the frame thru one of your embossing folders, and then raise it using pop dots, then stick the photo down flat...I hope some of the effect shows in the photos...I could not find any stamps that worked...so I added the little fish button...I hope to get another one done for a larger scrapbook layout soon...Hope this gives ya some ideas for those frame die cuts...

Friday, June 15, 2007

Coaster Book Sample


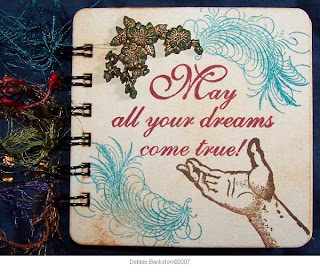
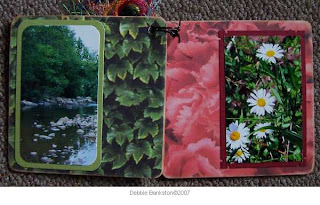
This is a quick coaster book I did today...I covered each side of two coasters with pattern paper...when dry, I sanded the edges, then used Ranger Tea Dye Distress ink all around...I used some of the left over photos from yesterdays coaster book...and layered each photo cropping onto contrasting cardstock, then layered onto the paper cover coaster that enhanced them...I used Evolving Images templates for trimming some of the photos...you can see all the templates Ellen has at http://www.evolving-images.com I will be using those templates more on future projects...I used Scotch brand glue stick to adhere the pattern paper to the coaster, burnished each with my bone folder and let dry for at least a couple hours before sanding the edges...I punched the hole in the corner area of each coaster with my crop a dile, then used a single section of my Bind It All wire to bind this book...I used a 5/8" wire and it was perfect for two coaster thickness...I will add some words and embellishments later, this was all I had time for today...

Thursday, June 14, 2007

Vacation Coaster Book


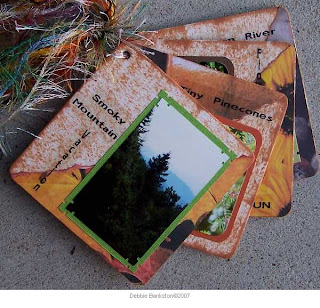
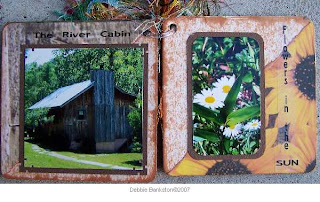
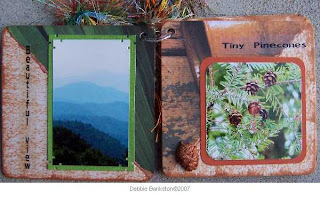
I made a little coaster book using some of my vacation photos...This was so much fun to make...I used Tea Dye Distress ink from Ranger, and just rubbed the pad across the coasters to give them some color and depth...I then, cut my pattern papers down to size, tore them in half and then added the distress ink to the torn edge...I used my wonderful acrylic templates from Evolving Images to size and crop my photos, as well as the cardstock mats I layered them on...Then used my Letra Tag to create my journaling...I will add some more embellishments later...

Monday, June 11, 2007

Our Vacation


These are a few of the photos I took while we were on vacation last week...It was like being as close to heaven as you can get on earth...I wish I could have packed that little cabin in my suitcase and brought it home...We enjoyed every minute we were there...and will be going back again...

Friday, June 01, 2007

Just Jhone Coaster Book


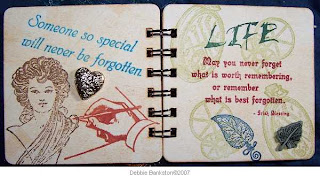
This is one of my favorite Bind it All coaster books so far...I love working with Just Jhone images, http://www.jhone.com and if you want any of these stamps...get them now...she has a big sale going on...I used Ranger Archival inks and after doing all the stamping with my Just Jhone images, I dusted each page with Tea Dye distress ink and a color duster brush...I then added some embellishments glued on with glue dots...Fibers tied onto the Bind it All binding was just enough foo foo for me...